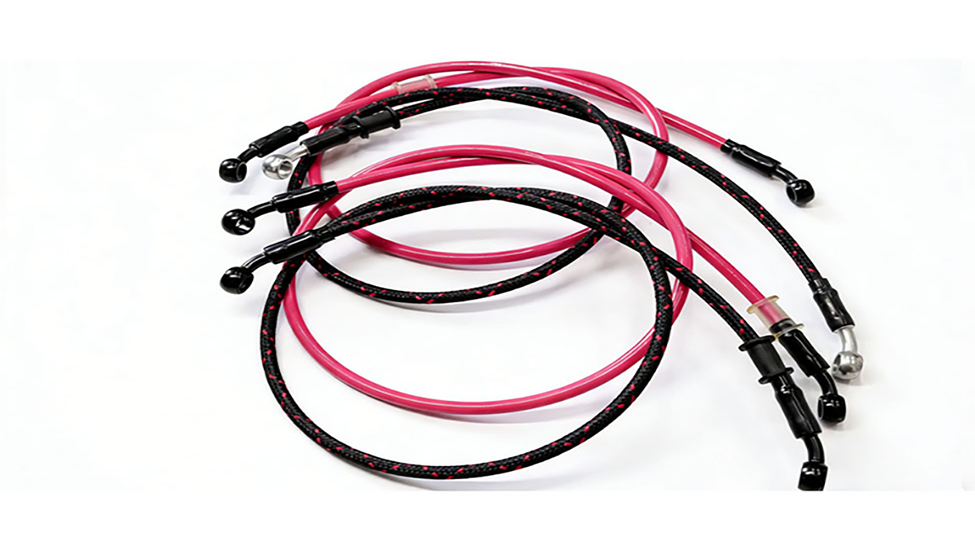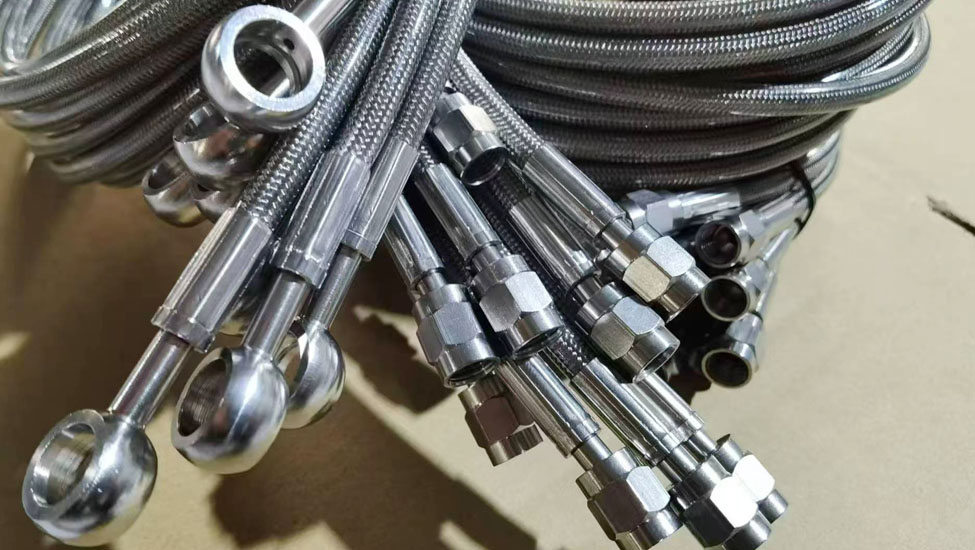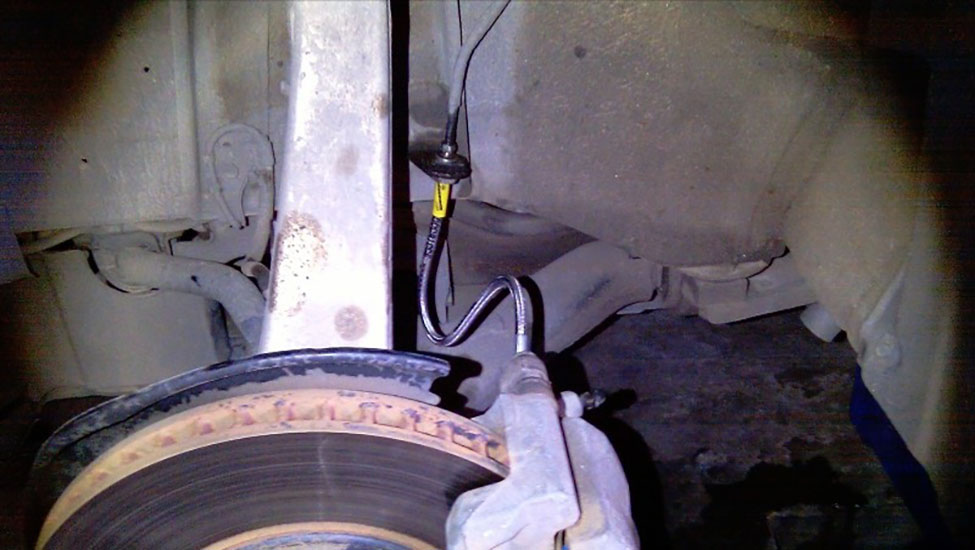
After replacing the brake lines, the following system checks are required to ensure safety and reliability:
1. Visual Inspection
- Check that the brake lines are securely installed, without looseness, twisting, or excessive stretching.
- Ensure sufficient clearance between the brake lines and moving parts such as tires and suspension to prevent wear.
- Check for oil leaks or seepage at the joints.
2. Brake System Bleeding
Air may enter the brake system after replacement. Bleeding must be performed on all four brake wheels in sequence (usually right rear → left rear → right front → left front).
- Ensure the brake pedal is firm and not mushy.
3. Brake Fluid Level and Quality Check
- Check that the brake fluid level in the reservoir is within the marked range.
- The brake fluid should be clean and free of air bubbles.
4. Brake Performance Test
- After starting the vehicle, perform a low-speed test brake in a safe area to confirm that the brake pedal travel is normal and the vehicle brakes smoothly.
- Test emergency braking to check for any pulling or abnormal noise.
5. Temperature Check
- After driving a short distance, check if the brake caliper temperature is normal and there is no localized overheating.
6. Recheck
- After completing the above checks, let the vehicle sit for several minutes and check for oil leaks at the brake line joints.
If the brake pedal feels soft, braking force decreases, or there is a noticeable oil leak, stop using the vehicle immediately and recheck.